 Rear Bumper
 Wrap Around
 Doors
Doors Front Bumper
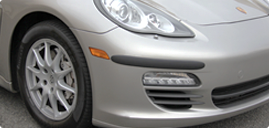
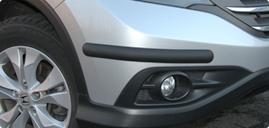
 Corners
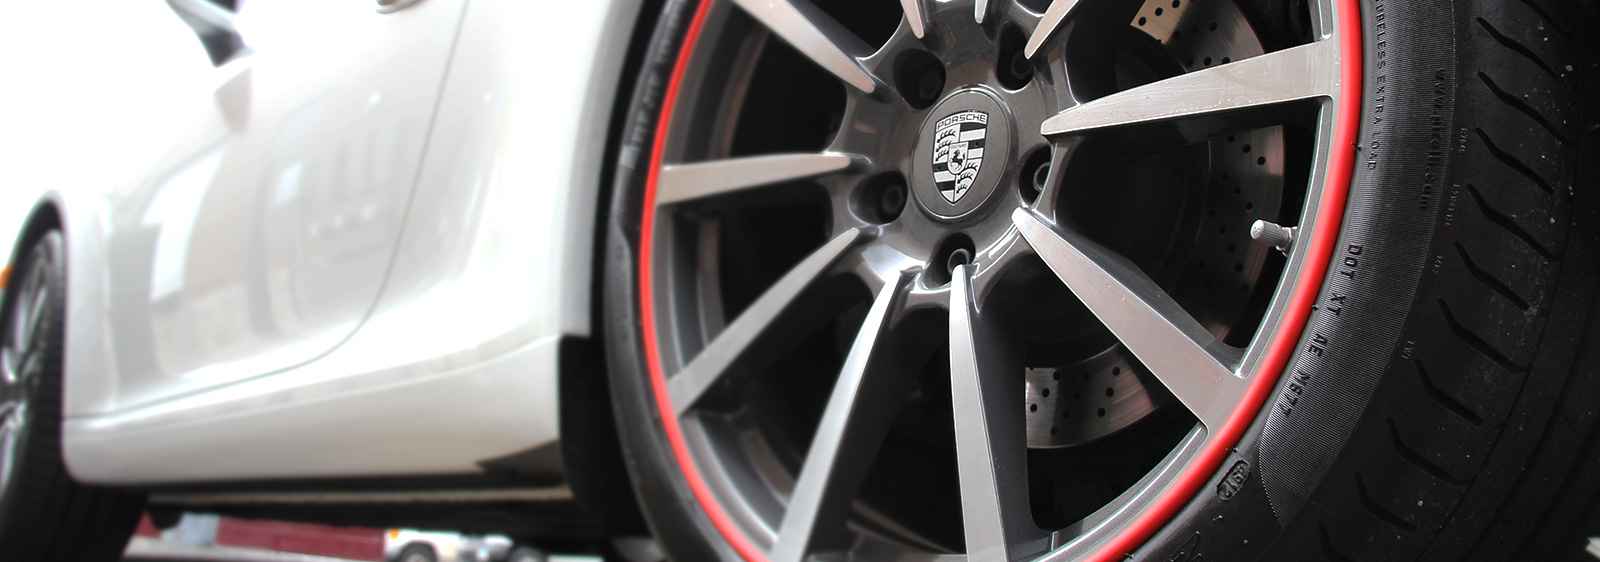
 Wheels
 Garage Walls
 Accessories
 Loading... Please wait...


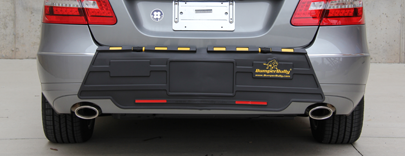


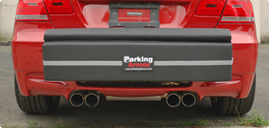
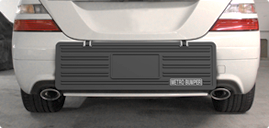
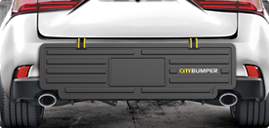


Outdoor Parking – All Weather Bumper Guards
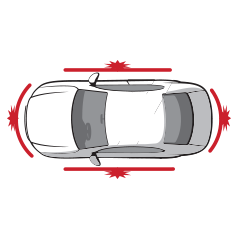
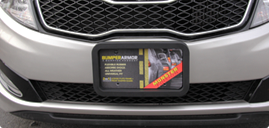
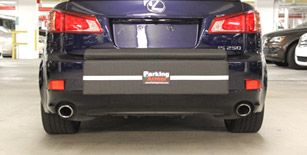
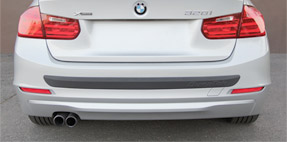
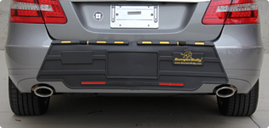
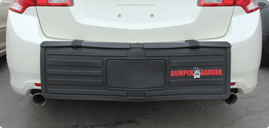
Outdoor parking is inherently dangerous for any vehicle because you never know who is going to park in front of or behind you and how long they are planning to stay. For outdoor parkers we recommend our full lines of rear bumper protectors, corner bumper guards, and front bumper protection. The top brands we carry for rear outdoor bumper guards are BumperBully, BumperBadger, ParkingArmor, CityBumper, MetroBumper and BumpTek. Varying in form from rubber protectors that flip in and out of your trunk when in use, to full-length bumper protectors that attach with 3M adhesive to your rear bumper, EuroBumperGuard.com offers a rear bumper protector to fit every customer’s need!
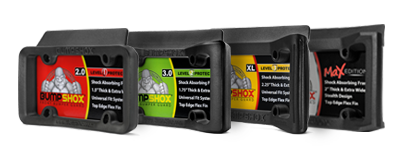
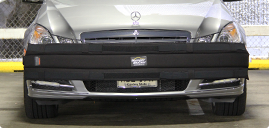
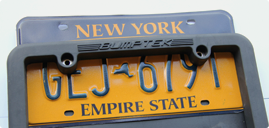
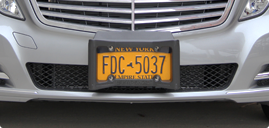
EuroBumperGuard.com offers front bumper protection in the form of license plate replacement frames such as BumpShox, PlatePocket, and BumperArmor that are specially designed to pull double duty as both a license plate frame and a front bumper guard. Construction materials from EVA foam rubber to military grade rubber provide different options and styles of front bumper protectors to fit any vehicle.
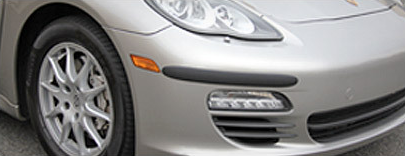
Protecting the corners of your bumper while parked outdoors is always challenging, but we recommend our full line of corner bumper protection to help with the task! FlexyGuard and RhinoGuard are designed to protect the most vulnerable area of your bumper and are available in a variety of sizes to best fit your vehicle.
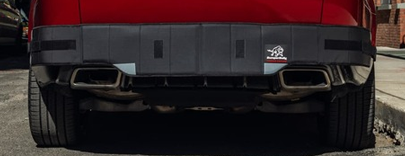
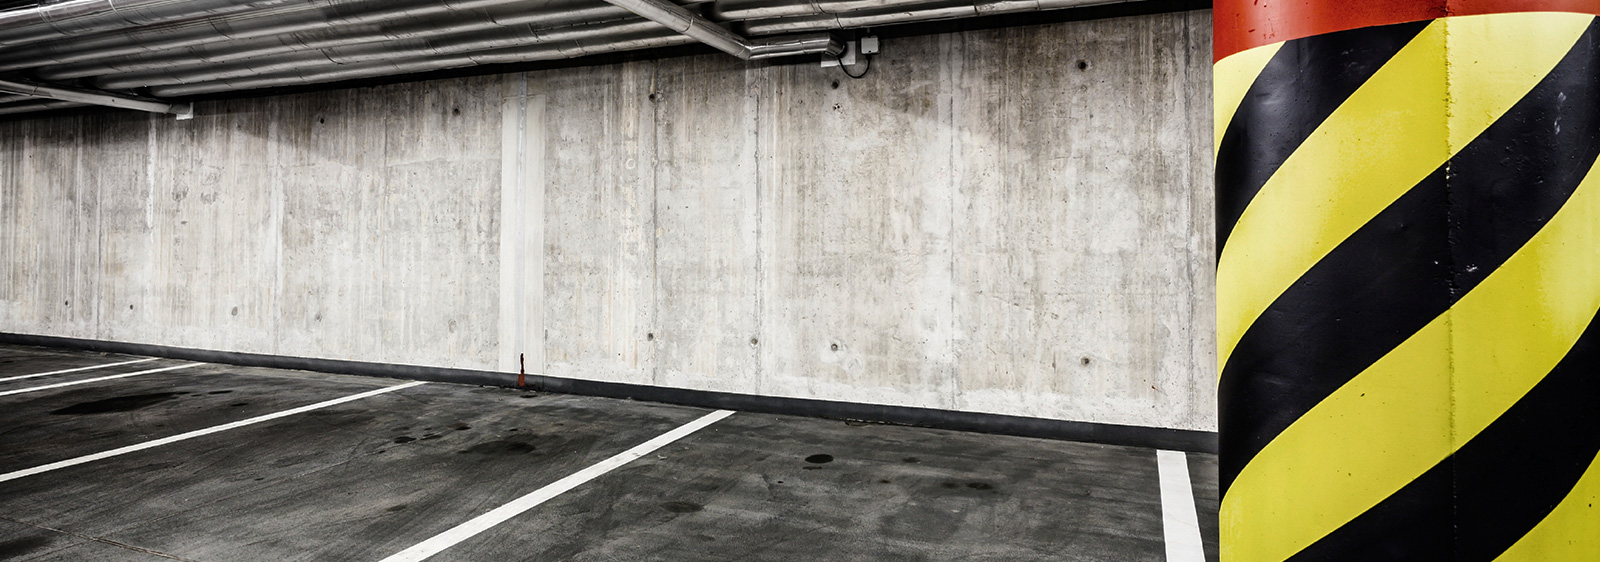
Bumper Protection For Indoor Parking Garages
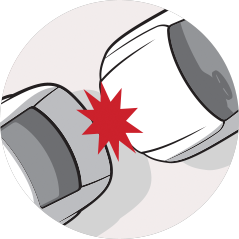
Parking garage attendants are notorious for parking cars to close to each other and causing damage. If you park in a garage your car is at risk! You should consider Bumper Blocker, full coverage bumper protectors that wrap around your bumper to offer to full vehicle protection. Bumper Blockers are available for both the front and rear bumpers and are designed to wrap around the entire bumper, protecting even the corners; corner bumper protection is a must in the perils of indoor parking garages. The Bumper Blocker product line is water resistant, and modular by design to allow for replacement parts if necessary.
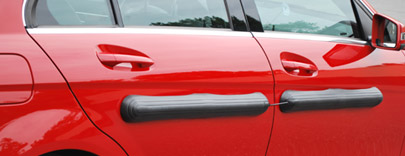
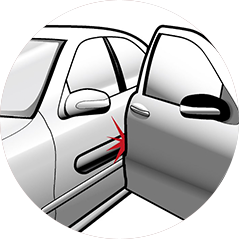
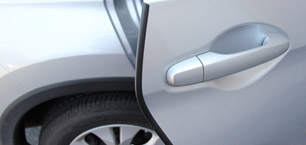
Car Door Protection Products
Car doors are very susceptible to damage regardless of where you park, making car door protectors essential in all parking environments. DoorShox is designed to protect your vehicle’s all situations, from careless people who throw their doors open with no regard for the car parked next to them or garage attendants who park vehicles only inches apart to conserve space. DoorShox products are made of a flexible foam rubber to best absorb any impact and adhere to your vehicle magnetically, so please make sure your doors are not aluminum. DoorShox is available in both valet and standard editions to meet the needs of any parking situation.


